Azure Function
We have covered quite some ground already. Now it is time to forward the messages we receive in IoT Hub to a Redis channel. We will use an Azure Function written in JavaScript so you can use the same Redis module to publish data. The code for the Azure Function is shown below.
var client=require("redis").createClient(6380, "<Name_of_Redis>.redis.cache.windows.net",
    {auth_pass: '<Auth_Pass>',
     tls: {servername:  '<Name_of_Redis.redis.cache.windows.net'}});

module.exports = function (context, myEventHubTrigger) {
    particleEvent = JSON.stringify(myEventHubTrigger);
    context.log('Received Particle event:', particleEvent);

    // push the data to particle channel
    client.publish("particle", particleEvent);

    context.done();
};
Like before, replace the parameters between < > with the appropriate values. The above code should be put in an Azure Function and there is some plumbing required to tell the function where to pick up the event data.
Although it is possible to create Azure Function on your local machine and from the command line, we will use the Azure Portal for now since it is a bit easier.
Preparing to connect to IoT Hub
The IoT Hub that receives the data from the Particle Cloud, exposes the data to developers using an Event Hub. An Event Hub is a type of queue. The Azure Function needs to be told where to connect so let's start with that. Navigate to the properties of the IoT Hub and in the Messaging section, click Endpoints. One of the built-in endpoints is called Events. Click on Events to bring up properties of the endpoint. To connect, two values are needed:
- Event Hub-compatible name: something like iothub-ehub-geba-freeh-140486-9ba584252a
- Event Hub-compatible endpoint: something like sb://ihsuprodamres039dednamespace.servicebus.windows.net/
You will also need a Shared Access Policy and key and it is recommended to create a new one:
az iot hub policy create --hub-name <IoT_Hub_Name> --name functionpolicy --permissions ServiceConnect
Above, I created a policy called functionpolicy that only has ServiceConnect permissions to read Event Hub data. Now, get the primary key for this policy:
az iot hub policy show --hub-name <IoT_Hub_Name> --name functionpolicy
With the name of the policy and the primary key, you can create a connection string for use with the Azure Function:
Endpoint=<Event Hub-compatible endpoint>;SharedAccessKeyName=functionpolicy;SharedAccessKey=<primary_key>
Creating the Azure Function
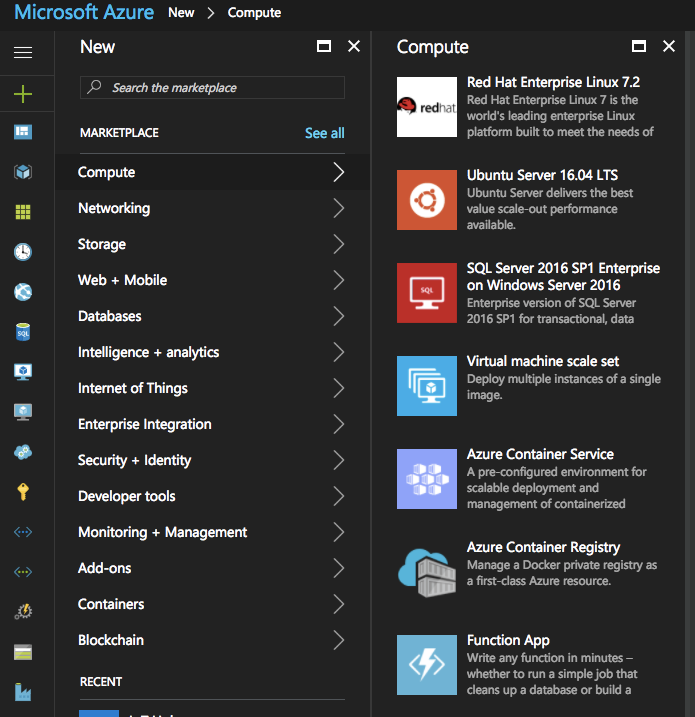
Create a new Function App from the Azure Portal with the green +. Function Apps are in the Compute section in Marketplace.
Fill out the properties for the Function App:
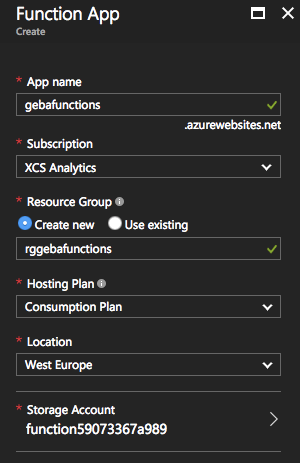
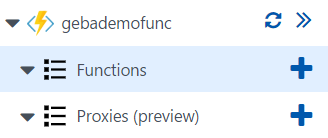
The Consumption Plan is billed per execution and dynamically adds resources. The Azure documentation has more information about pricing. Although a Function App can contain many functions, we will add just one function. Click the blue + next to Functions to add a new function as illustrated below.
Click on Create your own custom function, select Data Processing from the Scenario dropdown list and then click EventHubTrigger-JavaScript.

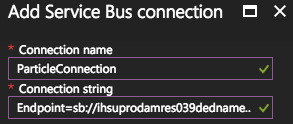
Provide a name for the function and then paste the Event Hub-compatible name in the Event Hub name textbox. We still need to tell the function where to connect by providing the connection string. Click the new link next to Event Hub Connection. Then click Add a Connection String and type a name for the connection (anything you want) and the Connection String like so:
Click OK and when you return to the previous screen, click Create to create your function. You should see a screen similar to the one below.
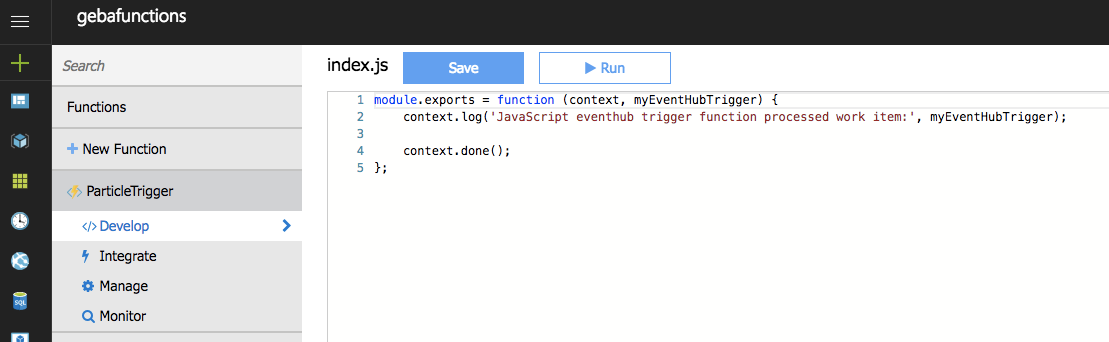
The code in this function picks up whatever new data is in the Event Hub. Expand the Log (bottom of window) to see the log output. If your Particle is sending data, you should see it in the logs.
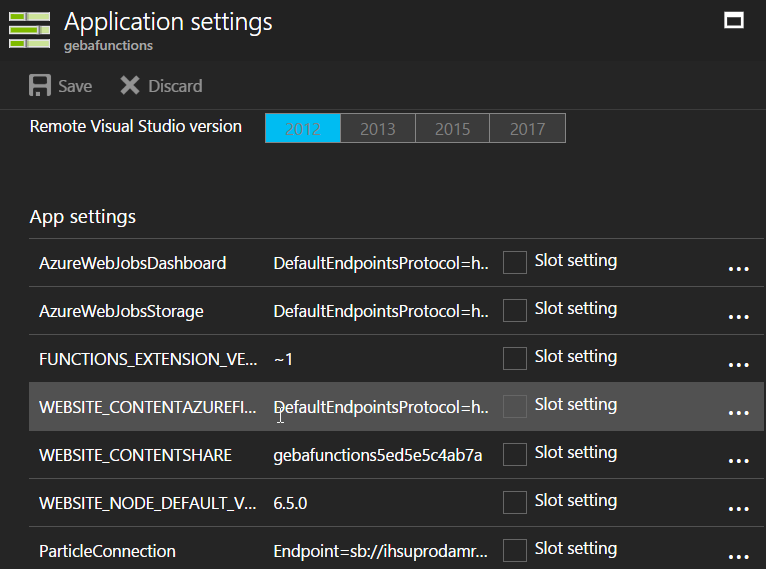
 Tip: if you made a mistake with the Connection String, go to the Applications settings of the Function App. Look for Connection Strings in the settings. A connection string with the name you chose will be in the list as illustrated below.
Sending the data to a Redis channel
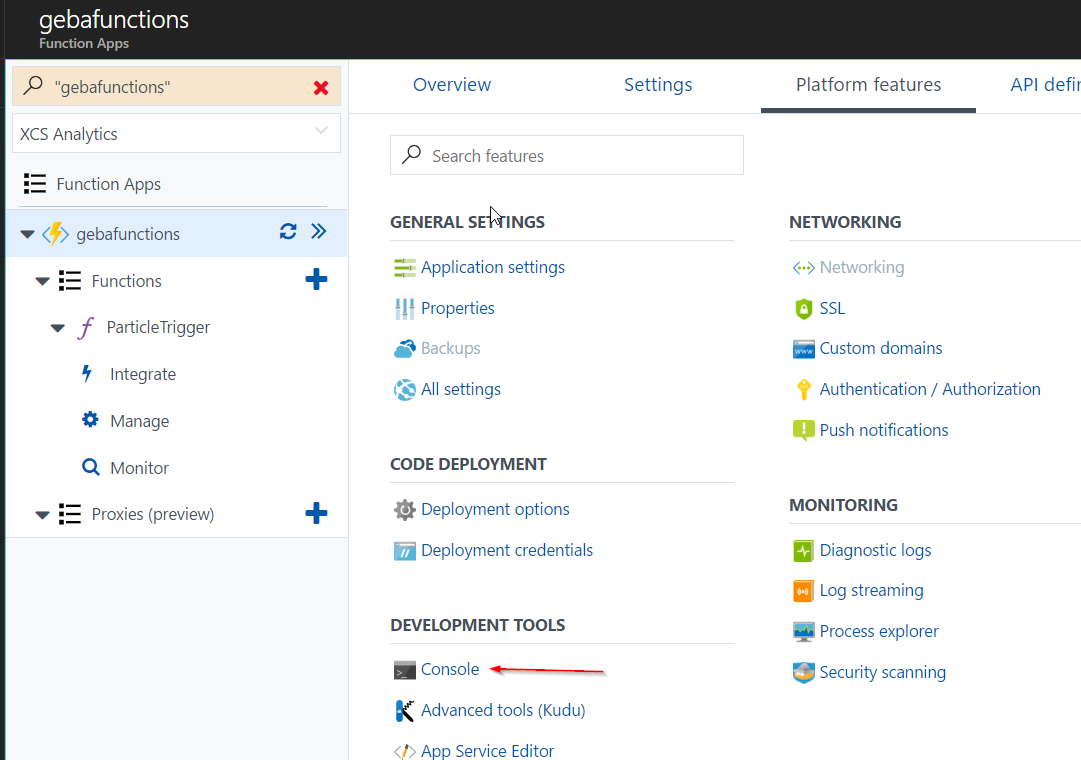
It is not enough to just copy the function that we started with in this section. Because the redis package is used, we need to install it. There are multiple ways to take care of this but we will install it manually with the console. The console can be opened from the Platform Features tab of the Function App:
 Here's the console in action:
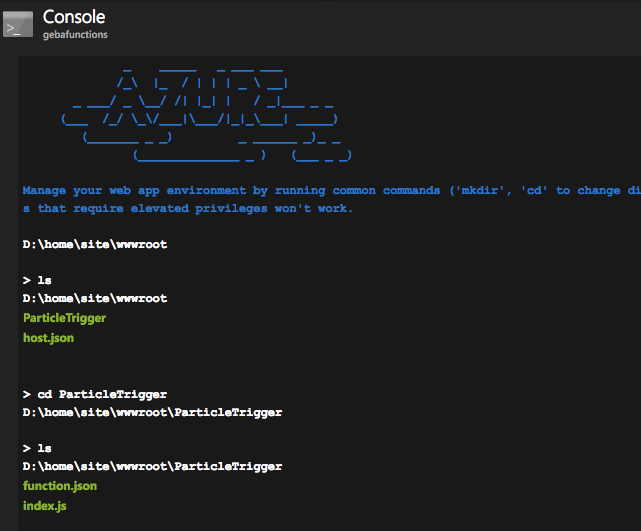
Use the commands from the screenshot to navigate to the ParticleTrigger folder where the code of your function is stored (index.js). Next, execute the following command:
npm install redis
The above command installs the redis module. A folder called node_modules will be created that holds the module and its dependencies.
Now go back to your function and paste the function code in it. Here is the code again for ease of reference.
client=require("redis").createClient(6380, "<Name_of_Redis>.redis.cache.windows.net",
    {auth_pass: '<Auth_Pass>',
     tls: {servername:  '<Name_of_Redis>.redis.cache.windows.net'}});

module.exports = function (context, myEventHubTrigger) {
    particleEvent = JSON.stringify(myEventHubTrigger);
    context.log('Received Particle event:', particleEvent);

    // push the data to particle channel
    client.publish("particle", particleEvent);

    context.done();
};
Since myEventHubTrigger is already a JSON object, JSON.stringify is used to convert it to JSON text. The complete JSON text is then sent to a Redis channel called particle. Now, you can use the redis-sub.js file we saw earlier to check this. This is the code for the redis-sub.js file, modified to view the particle channel.
var subscriber=require("redis").createClient(6380, "<Name_of_Redis>.redis.cache.windows.net",
    {auth_pass: '<Auth_Pass>',
     tls: {servername:  '<Name_of_Redis>.redis.cache.windows.net'}});

subscriber.on("message", function(channel, message) {

    console.log(channel + " contains value of " + message);

});


subscriber.subscribe("particle")
If you run this code, you should see the following: Great! The data generated on our device is sent to the Particle Cloud, which sends it to Azure IoT Hub. An Azure Function is picking up the data from the IoT Hub's Event Hub endpoint and publishes it to a Redis channel.
Something just does not feel right though! We have put the name of the Redis server and auth_pass directly in the Azure Function. That is not a good practice. To fix it, add two App Settings to the Function App called REDISHOST and REDISPASS and enter the appropriate values for each setting. Then, change the code as follows:
client=require("redis").createClient(6380, process.env["REDISHOST"],
        {auth_pass: process.env["REDISPASS"],
           tls: {servername: process.env["REDISHOST"]}});

module.exports = function (context, myEventHubTrigger) {

    particleEvent = JSON.stringify(myEventHubTrigger);
    context.log('Received Particle event:', particleEvent);

    // push the data to particle channel
    client.publish("particle", particleEvent);

    context.done();
};
Now that we have cleaned the code up a bit, it's time to write the realtime service that exposes the device data to browsers in realtime. We will write that service with Node.js (JavaScript again), deploy it as a container and then connect to it from a browser.