Arduino toolchain
The IDE
Arduino has an online editor to create sketches for your device. With an agent you install on your computer, you can build your sketch and flash it over USB directly to your device.:

Although the online editor is great, we will use the Arduino integrated development environment or IDE. To get started, download the IDE from their website. At the time of writing, the version was 1.8.2. When you install and run it, and connect your MKR1000, you should get a message to install SAMD support (the MKR1000 uses a SAMD21 Cortex-M0+). When that is finished, set your board to the MKR1000 from the Tools > Board menu.
WiFi Firmware
You should make sure the WiFi firmware is up-to-date and is supported by the WiFi101 library you will use. To check the WiFi firmware, navigate to File > Examples > Wifi101 > CheckWiFi101FirmwareVersion. This will open the example sketch that you now have to load on the device:
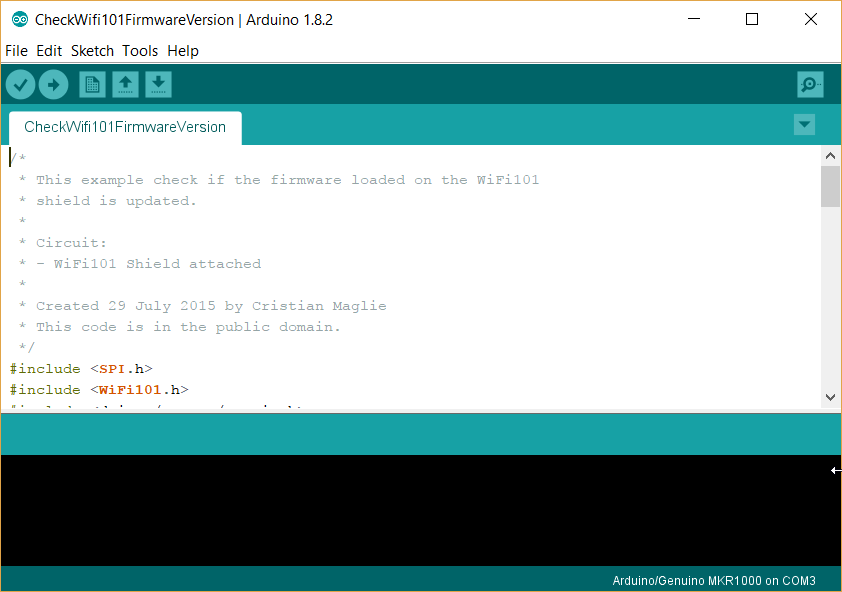
Use the button with the arrow pointing right (next to the button with the checkmark) to upload the firmware to the device. While uploading, press CTRL-SHIFT-M to open the Serial Monitor. You will see a message similar to the one below:
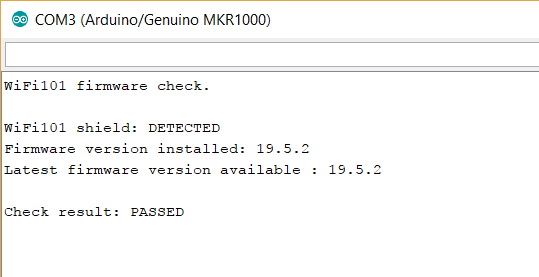
At the time of writing, firmware 19.5.2 was the latest firmware and was required to be used with the WiFi101 library. If you do not pass the firmware check, the firmware should be updated. Open another example sketch under File > Examples > Wifi101 called FirmwareUpdater and upload it to the device.
The FirmwareUpdater firmware only prepares the device for updating the WiFi firmware. To actually perform the update, use Tools > WiFi101 Firmware Updater:
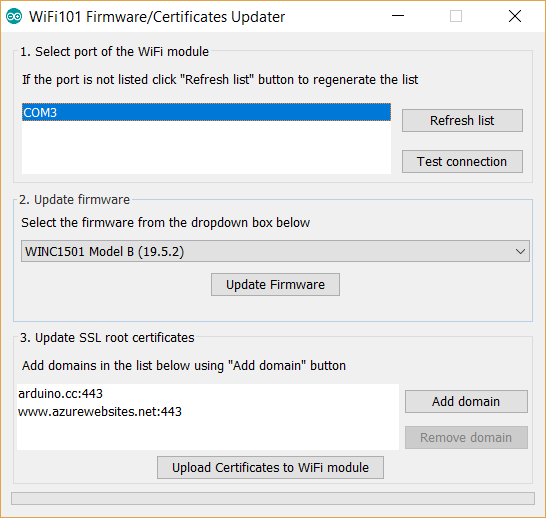
Select the port (COM3 in my case) and click Test Connection. When the test passes, select the latest firmware and click Update Firmware. As you can see from the screenshot, this tool also allows you to upload certificates. In a later step, we will connect to an Azure Function using SSL which will require configuring the certificates as shown above.