Kubernetes Primer
More and more, applications are broken up into smaller components. Often, those components are called microservices. Although not absolutely required, microservices are usually built with containers. More often than not, containers are built with Docker.
Running one or more Docker containers is easy. You start by installing Docker on a Windows or Linux host and you run a container with the docker run command. Simple!
If your application and its microservices need to scale beyond a single host (physical or virtual), you can add Windows or Linux hosts, install Docker on them and start running containers on these hosts. As you application grows, you will need to install more hosts and take care of all kinds of tasks:
- provide network connectivity between containers, possibly running on multiple hosts
- provide network connectivity between containers and the outside world
- make sure your containers keep running when they fail
- make sure your containers keep running when their hosts fail
- check the health of containers
- make sure containers can be upgraded with the least amount of downtime
- automatically scale containers horizontally across hosts
- automatically scale the amount of hosts when you need more or less capacity
- provide configuration to containers like environment variables and secrets
The amount of "stuff" you need to do, even for small applications, can be daunting. Kubernetes will make it a lot easier to do all of that "stuff" and provides the automation you need to keep things running smoothly.
In the next sections, we take a look at the most important Kubernetes concepts: pods, ReplicaSets and Deployments. But first, we will look at deployment options.
Kubernetes Deployment
This book does not focus on deployment on your own infrastructure, either physical or virtual hosts at your premises or in the cloud. I suggest looking at https://kubernetes.io/docs/setup/pick-right-solution to learn more about some of the options. You can also look at https://coreos.com/tectonic which allows you to deploy Kubernetes on-premises or on virtual machines in AWS or Azure.
To follow along in this book, you should deploy a Kubernetes cluster in either Azure or Google Cloud:
- Azure: Azure AKS
- Google Cloud: Google Kubernetes Engine (GKE)
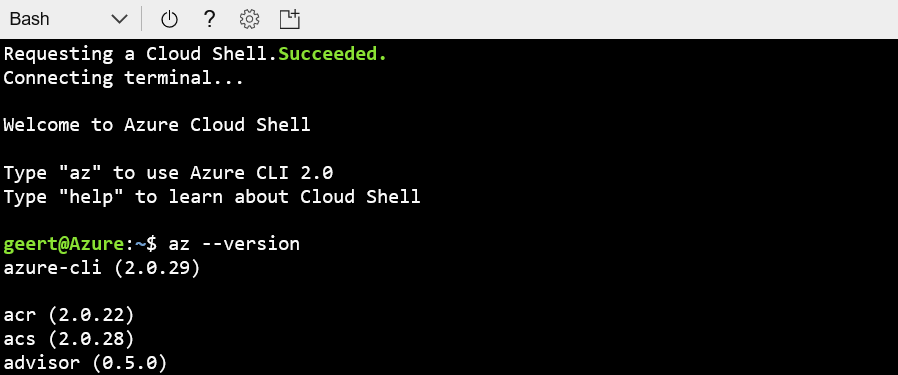
To deploy a Kubernetes cluster on Azure, follow the instructions at https://docs.microsoft.com/en-us/azure/aks/kubernetes-walkthrough. The walkthrough uses the Azure CLI, which you can easily use from the Bash Azure Cloud Shell:
I will not repeat all the instructions here but installing the Kubernetes cluster is as simple as invoking the following command:
az aks create --resource-group <resource-group> --name <cluster-name> --node-count 1 --generate-ssh-keys
If you deploy all resources we will discuss in this book, you will need three or more nodes.
After installing the cluster, you simply use az aks get-credentials to configure kubectl, the Kubernetes CLI. kubectl is automatically available in Azure Cloud Shell so there is no need to install it.
To deploy a Kubernetes cluster on Google Cloud, follow the quickstart at https://cloud.google.com/kubernetes-engine/docs/quickstart. Similar to Azure, Google has a cloud shell that you can use to create the cluster:
gcloud container clusters create <cluster-name> --enable-cloud-logging --enable-cloud-monitoring
    --num-nodes 2 --zone europe-west1-b
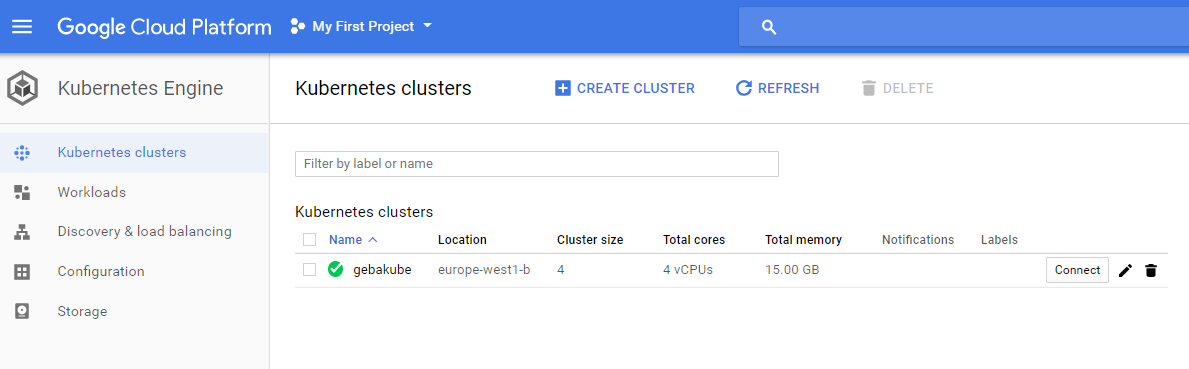
Alternatively, you can use the Google Cloud console (https://console.cloud.google.com\ to create the cluster. Either way, the cluster will show up in the console:
 Running Kubernetes in a cloud environment like Azure, AWS or Google Cloud has several advantages:
- "as-a-service" deployments, updates and upgrades
- easy to scale the number of nodes in the cluster
- depending on the cloud environment, the amount of nodes can be scaled automatically
- it is easy to expose Kubernetes services to the outside world using either a layer 4 or layer 7 load balancer
- it is easy to attach persistent storage to containers with persistent volume auto provisioning
Pods
The smallest unit of deployment for a container is a pod. A pod can run multiple containers and runs on a single host. Although a pod can contain multiple containers, you should only do so in specific cases. A typical example is running a web serving container and a git synchronizer together in a pod. Each container focuses on a specific task but it is clear that the synchronizer container is supporting or augmenting the web serving container.
This is a pattern that is often called the sidecar pattern. The web serving container is the application container and the git synchronizer is the sidecar container. In the case of Kubernetes, the containers in the pod share a number of components such as volumes and the network. Due to this shared state, the application container need not be aware of the sidecar container. The git synchronizer, for example, can simply download the contents of a git repository to a volume mounted for reading and writing. The web serving container can use the same volume mounted for reading only and pick up the changes. In this book, most of the pods we deploy will contain a single container.
Let's look at running a single pod on Kubernetes with the kubectl run command. A kind of Kubernetes Hello World:
kubectl run nginx --image=nginx
When you run the above command, a pod that runs a single container will be created. The container uses the nginx image from Docker Hub. To see your pod, issue the following command:
kubectl get pods -l run=nginx
The above command lists all pods that have a label called run that is equal to nginx (what you specified after run). kubectl run automatically sets that label when you run it this way. You will notice that the pod does not have the name nginx but includes some random text:
NAME                    READY     STATUS    RESTARTS   AGE
nginx-7c87f569d-48md7   1/1       Running   0          5m
When you are just getting started, this is a bit confusing. Kubectl actually created a ReplicaSet, which is a higher level API object that is responsible for keeping your pod (or pods) running, even after host failure. This ReplicaSet can run multiple nginx pods so the name of the pods should be unique. If you just want a pod and no higher level API objects, you can use the following command:
kubectl run nginx --image=nginx --restart=Never
If you ran the earlier command, remove the nginx pod and higher level objects using:
kubectl delete deployment nginx
When you use --restart=Never, you only get the pod with the exaxt name you specified. You will not be able to use the earlier command that lists pod with the label run:
kubectl get pods nginx

NAME      READY     STATUS    RESTARTS   AGE
nginx     1/1       Running   0          1m
The kubectl run command is imperative. You type the command and Kubernetes does what you ordered it to do. Although that works, Kubernetes is meant to be operated in a declarative fashion. That means you specify a desired state and that Kubernetes does its best to match that state at all times. If you declare you want a load balanced set of three nginx pods, then that is what Kubernetes should try to do at all times.
You can define the desired state in a YAML or JSON file. YAML is used most often. The example below defines a pod:
apiVersion: v1
kind: Pod
metadata:
  name: gitrepo-pod
spec:
  containers:
  - image: nginx:alpine
    name: web-server
    volumeMounts:
    - name: html
      mountPath: /usr/share/nginx/html
      readOnly: true
    ports:
    - containerPort: 80
      protocol: TCP
  volumes:
  - name: html
    gitRepo:
      repository: https://github.com/gbaeke/static-web
      revision: master
      directory: .
This file defines a pod with the name gitrepo-pod. The pod has only one container which uses the nginx:alpine image. Kubectl can be used to submit this YAML file:
kubectl apply -f <filename>
When you run the above command, followed by kubectl get pods, you will notice there is a pod called gitrepo-pod. The YAML file also defines a volume called html. The volume type is gitRepo which is a special type of volume that is automatically populated with the contents of the specified git repository. When the volume is ready, the container is created. Inside the container specification, we ask to mount the html volume on /usr/share/nginx/html. By default, that path is used by nginx to find index.html.
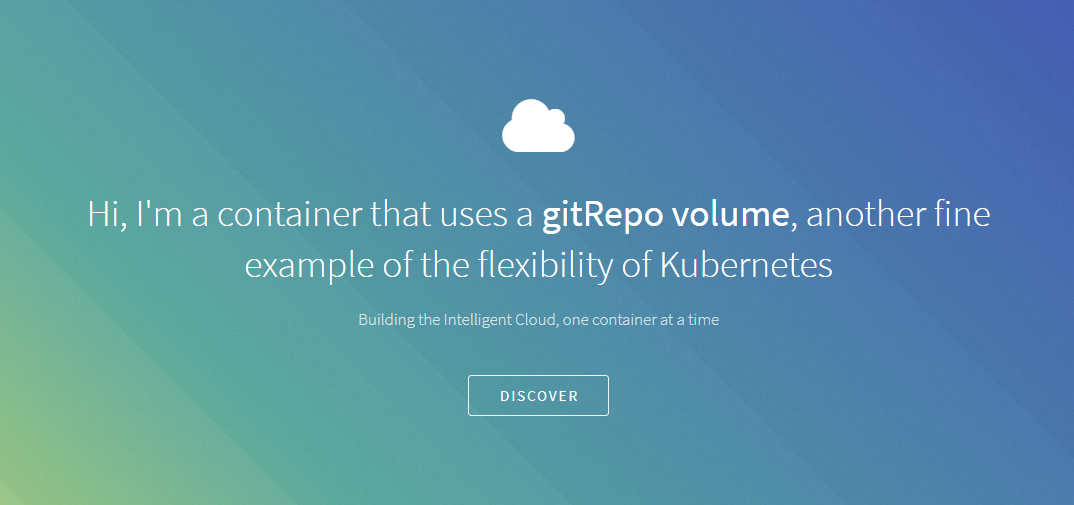
You might wonder how we can see the website nginx is serving! Although we have not discussed Kubernetes services, load balancers or Ingress resources, there is always a quick way to connect to a pod: port forwarding. Use the following command:
kubectl port-forward gitrepo-pod 8080:80
This forwards port 8080 on your local machine to port 80 on the pod. Try http://localhost:8080 from your browser. The following page will be shown: